
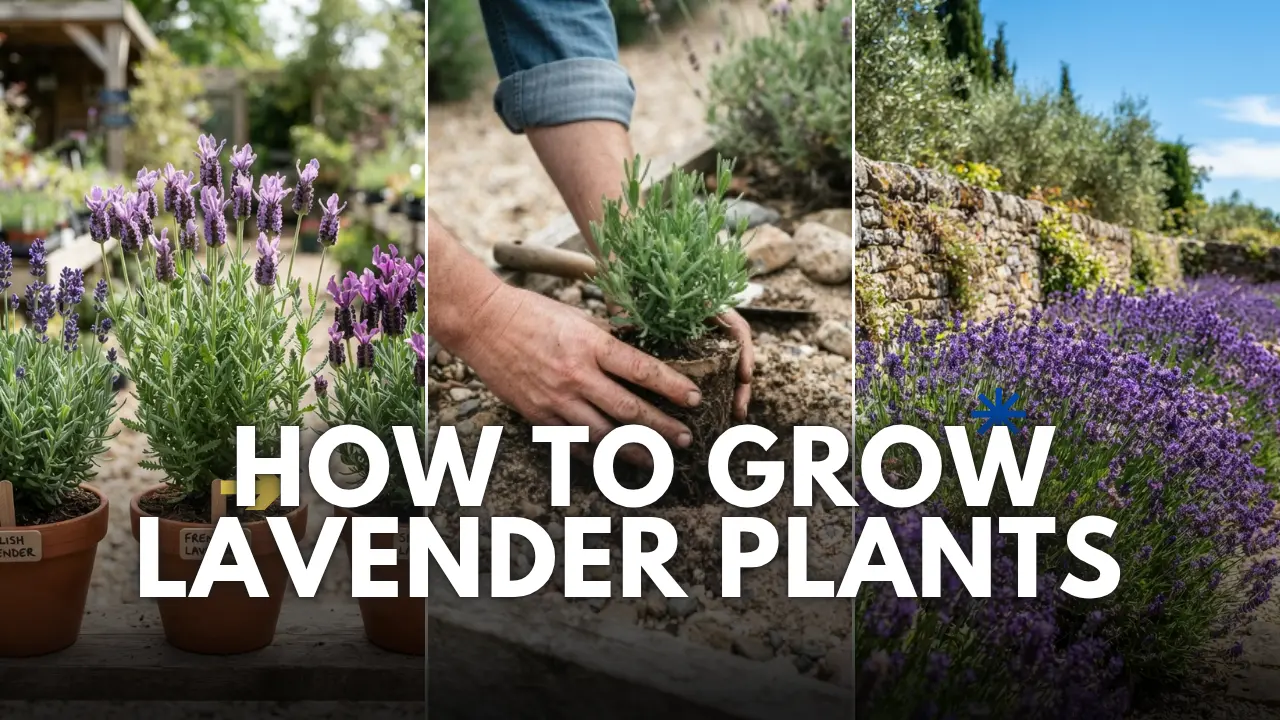
Lavender has this reputation for being tricky, and I get why people plant it, it looks great for a few months, then it turns brown and dies, and they assume they just don’t have a green thumb. Truth is, lavender doesn’t die from neglect. It dies from too much love, mostly too much water. Once you understand that one thing, growing lavender gets a whole lot easier. Here’s everything you need to know to get it right the first time.
What Makes Lavender Different From Most Garden Plants
Most plants we grow in gardens want rich soil and regular watering. Lavender is the opposite. It comes from the dry, rocky hillsides of the Mediterranean, so it’s built for poor soil, bright sun, and long stretches without rain. If you treat it like a tomato plant or a petunia, it will rot. Once you accept that lavender actually prefers to be a little neglected, you’ll stop overwatering it and start seeing it thrive. Keep this in the back of your mind through every step below — it explains almost every rule that follows.
Choosing the Right Variety
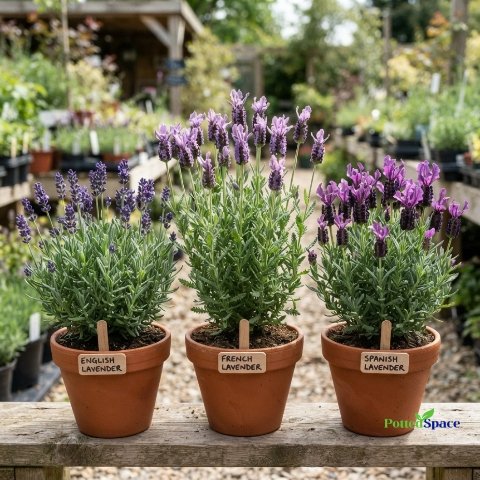
Not all lavender is the same, and picking the right type for your climate matters more than people realize. English lavender (Lavandula angustifolia) is the most cold-hardy option and the best pick if you get real winters. French and Spanish lavender look beautiful but can’t handle frost, so they’re better suited to warmer regions or grown in pots you can bring inside. If you’re just starting out and you live somewhere with cold winters, go with an English variety like ‘Munstead’ or ‘Hidcote’ — they’re forgiving and reliable for beginners.
Picking the Right Spot
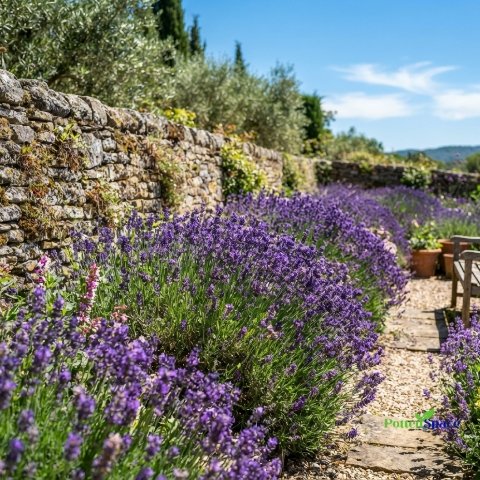
Lavender wants sun — and a lot of it. Aim for a spot that gets at least six hours of direct sunlight a day, ideally more. Morning sun with a little afternoon shade is fine, but full shade will leave you with a leggy, weak plant that never really blooms. Good airflow matters too. Don’t tuck it into a tight corner surrounded by other plants, since lavender is prone to fungal problems when air can’t move around it. A spot near a wall or path that reflects heat is actually ideal, since lavender loves the extra warmth.
Getting the Soil Right
This is where most people go wrong. Lavender needs soil that drains fast — think sandy or rocky, not rich and moisture-holding. If your soil is heavy clay, don’t fight it by adding compost, since that just holds more water around the roots. Instead, mix in coarse sand or grit, or plant on a slight mound so water runs off instead of pooling. A pH on the alkaline side, somewhere around 6.5 to 8, is what lavender likes best. If you’re not sure about your soil, a raised bed or a large pot gives you full control from day one.
How to Plant Lavender
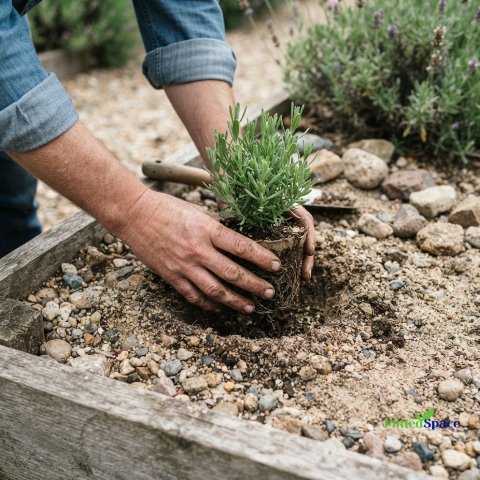
Spring is the best time to plant, once the soil has warmed up and the risk of frost has passed. Dig a hole a bit wider than the root ball, but not much deeper — lavender doesn’t like being planted too deep. Loosen the roots gently before placing it in the hole, backfill, and water it in once to settle the soil. After that first watering, back off. Space plants about two to three feet apart depending on the variety, since lavender needs airflow between plants as much as it needs it around itself.
Watering (Less Than You Think)
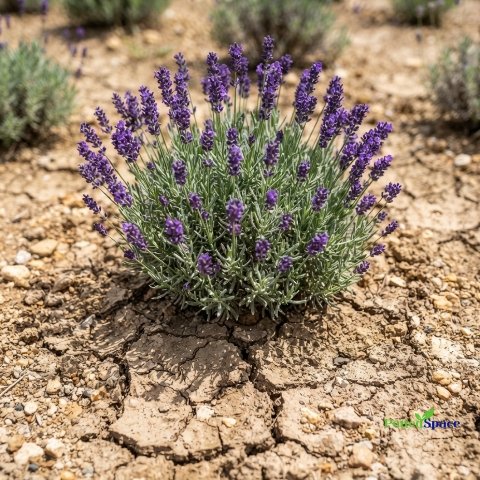
Here’s the part that trips up almost every beginner: lavender wants very little water once it’s established. For the first few weeks after planting, water it regularly to help the roots settle in. After that, only water during long dry spells, and even then, let the soil dry out completely between waterings. Established lavender in the ground often needs no supplemental water at all outside of a serious drought. If you’re growing it in a pot, it’ll need more frequent watering than in-ground plants, but the same rule applies — dry out fully between drinks.
Feeding and Fertilizing
Lavender genuinely doesn’t want rich soil, so skip the fertilizer, or use it very sparingly. Too much nitrogen pushes out soft, leafy growth instead of the tight, fragrant flower spikes you’re after, and it can make the plant more prone to disease. If your soil is truly poor, a light dose of a balanced, low-nitrogen fertilizer in spring is plenty. Some gardeners never fertilize lavender at all and get great results. When in doubt, leave it alone — this is one plant where doing less is doing it right.
Pruning to Keep It Healthy
Pruning is the one task lavender actually needs from you every year, and skipping it is how plants turn into woody, bare-stemmed shrubs after a few seasons. Prune in early spring as new growth starts, cutting back about a third of the plant, and always leave some green growth on the stems — cutting into old bare wood usually won’t regrow. A second light trim after the first bloom flush, cutting off spent flower spikes, will often encourage a second round of blooms later in the season. Regular pruning is what keeps lavender compact and full for years.
Harvesting Lavender
If you want to harvest for drying, sachets, or cooking, timing matters. Cut the flower spikes when about half the buds on the stem have opened — this is when the oils and fragrance are strongest. Morning, right after the dew dries but before the heat of the day, is the best time to cut. Snip with a few inches of stem attached, bundle a handful together, and hang them upside down somewhere dark and dry. In a couple of weeks they’ll be fully dried and ready to use.
Common Problems and How to Fix Them
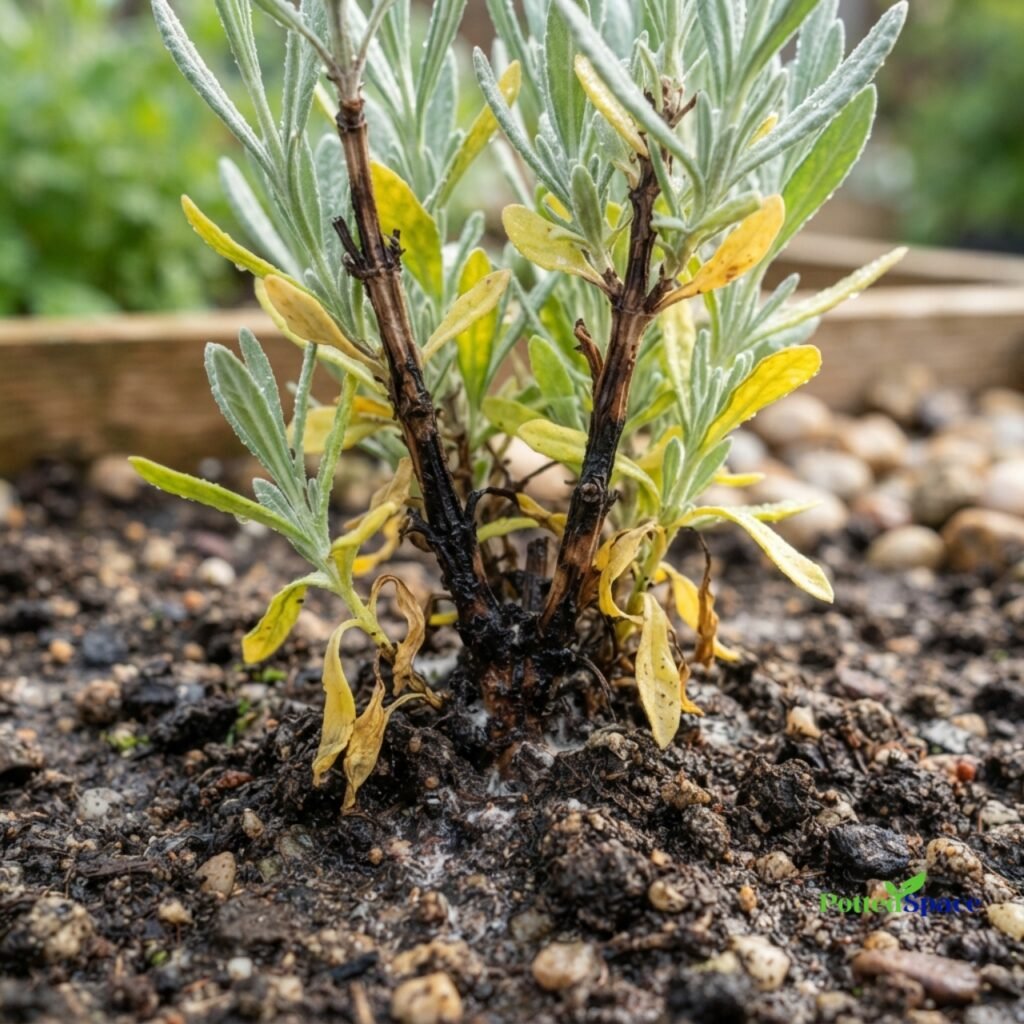
Most lavender problems trace back to water. Yellowing leaves, black stems near the base, or a plant that suddenly wilts and never recovers almost always means root rot from soil that’s staying too wet. The fix is improving drainage, not watering more. If your plant gets leggy with bare stems and flowers only at the very tips, that’s usually a sign it needs more sun or a proper pruning. Fuzzy gray mold on the leaves points to poor airflow — give the plant more space and cut back anything crowding it.
Overwintering Lavender
In cold climates, a little prep in fall goes a long way. Skip the fall fertilizing and stop pruning heavily late in the season, since new tender growth is more likely to get damaged by frost. A light mulch of gravel or straw around the base can help protect the roots, but avoid piling mulch right up against the stems, which traps moisture and invites rot. If you’re growing a tender variety like French or Spanish lavender in a cold region, it’s safest to keep it in a pot and bring it indoors before the first hard frost.
Growing Lavender in Pots
Containers are a great option if your soil is heavy clay, your climate is borderline for the variety you want, or you just don’t have garden space. Use a pot with solid drainage holes and a mix formulated for cacti or succulents, since regular potting soil holds too much moisture. Terra cotta pots are ideal because the material itself helps excess water evaporate. Water only when the top couple of inches of soil are fully dry, and bring tender varieties indoors to a bright, cool spot for winter if you’re in a colder region.
Propagating New Plants
Once you’ve got a healthy lavender plant, you can multiply it for free through cuttings instead of buying new ones. Snip a four-inch piece of new, non-flowering growth in late spring or early summer, strip the leaves from the bottom half, and dip the cut end in rooting hormone if you have it. Stick it in a pot of sandy, well-draining soil, keep it lightly moist until roots form in a few weeks, then transplant it once it’s established. It’s a simple way to fill out a garden bed or share plants with friends.
Final Thoughts
Lavender rewards a hands-off approach more than almost any other garden plant. Give it full sun, fast-draining soil, and a proper pruning once a year, and mostly leave the watering can alone. It’s one of those plants that actually does better when you stop fussing over it. Once you’ve got one thriving plant, you’ll have an endless supply of cuttings to fill your garden — and a yard that smells incredible every summer.
